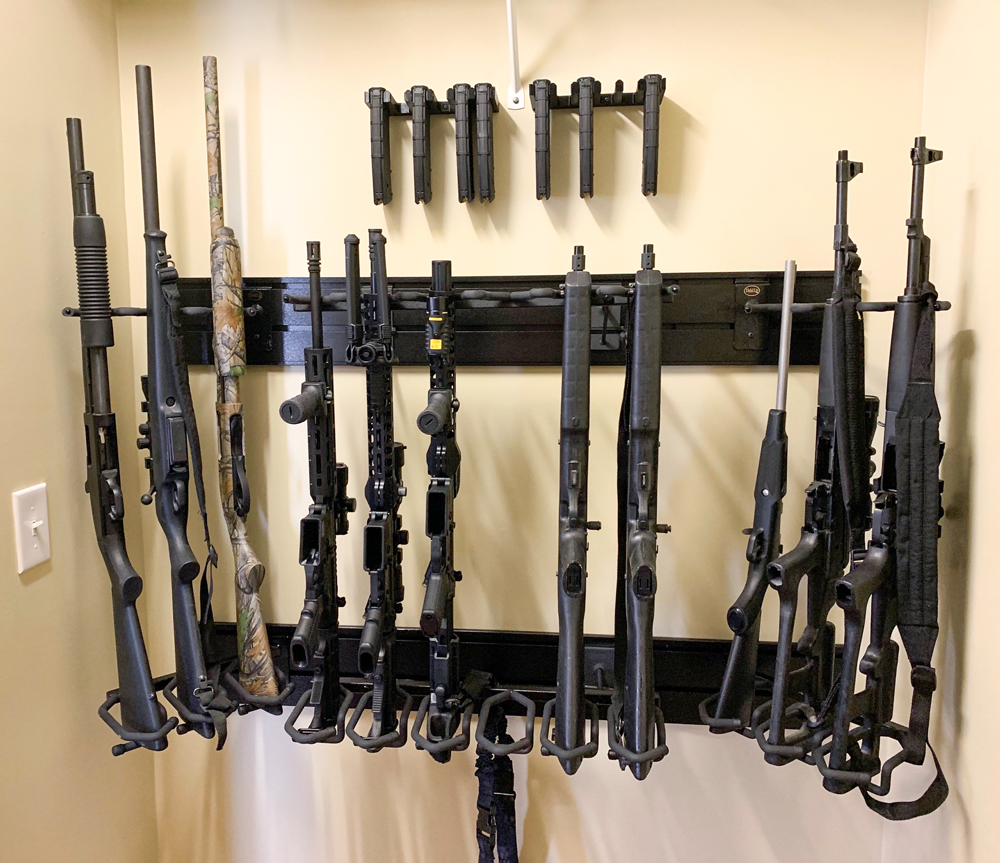
Crafting a Wooden Gun Case with Extra Storage
So you're looking to build a custom gun case, huh? Something that not only protects your precious firearm but also lets you store all those fancy accessories? Well, you've come to the right place! Building a wooden gun case is a rewarding project that'll give you a sense of accomplishment (and a sweet piece of furniture). Let's dive in!
Step 1: Planning & Design
Before you start hammering and sawing, you need a solid plan. Think about the size and shape you want, the features you'd like to include, and the type of wood that fits your style.
Choosing the Right Wood
For a sturdy gun case, hardwoods like walnut, cherry, or maple are excellent choices. They're strong and durable, and they'll age beautifully over time. If you want a lighter option, consider pine or poplar.
Here's a quick rundown:
- Walnut: Rich, dark color, beautiful grain patterns, strong and durable.
- Cherry: Warm reddish-brown color, subtle grain patterns, works well with hand-rubbed finishes.
- Maple: Pale color, tight grain, strong and hard.
- Pine: Softwood, light weight, affordable, readily available.
- Poplar: Softwood, light weight, paints well.
Determining the Size
Measure your firearm to ensure it fits comfortably with a little extra space for padding. Remember, you'll need room for the accessories too!
Sketching Out Your Design
Grab a pencil and paper and sketch out your case. Consider the following:
- Lid Hinge: Should it be a traditional hinge or something more modern?
- Latch System: A simple latch, a magnetic closure, or a key lock?
- Storage Compartments: Will you have drawers, shelves, or a dedicated space for cleaning supplies?
- Interior Padding: Foam padding or a soft lining?
- Exterior Finish: A natural wood finish, stain, or paint?
Step 2: Gathering Materials and Tools
Once you have your design set, you need to gather the necessary supplies:
- Wood: The type and amount will depend on your design.
- Lumber for Frame: If you're making a frame, you'll need additional wood for the sides and base.
- Hinges: These should be strong enough to support the lid.
- Latch: Choose one that suits your design and security needs.
- Screws & Nails: Make sure you have the right size and type for your wood.
- Wood Glue: For sturdy joints.
- Padding Material: Foam, felt, or fabric for the interior.
- Finish: Oil, stain, paint, or varnish.
- Clamps: To secure the wood while gluing.
- Saw: A table saw or circular saw will be helpful for cutting the wood.
- Drill: For drilling pilot holes and attaching hardware.
- Measuring Tape: For precise measurements.
- Sandpaper: For smoothing the wood.
- Safety Glasses: To protect your eyes.
- Dust Mask: To avoid inhaling wood dust.
Step 3: Building the Case
Now it's time to get your hands dirty! This is where your woodworking skills come into play. Let's break it down:
Cutting the Wood
Using your saw, cut the wood to the precise dimensions you've determined. Make sure your cuts are clean and accurate for a professional-looking case.
Assembling the Case
Glue and screw together the sides, bottom, and lid of the case. Use clamps to hold the pieces together while the glue dries. If you're making a frame, assemble it first and then attach the panels.
Adding Storage Compartments
If you've planned for extra storage, this is the time to build those compartments. Use the same process as assembling the case - cut, glue, and screw the wood.
Installing the Hinge and Latch
Carefully attach the hinge to the lid and the case. Drill pilot holes first to prevent splitting the wood. Then, install the latch, making sure it aligns properly with the lid.
Step 4: Finishing the Case
You're almost there! Now it's time to give your gun case that final touch:
Sanding
Sand the wood with progressively finer grit sandpaper to smooth out any rough edges or imperfections. This will create a beautiful finish and ensure a smooth surface for applying the finish.
Applying the Finish
Choose your preferred finish - oil, stain, paint, or varnish. Follow the manufacturer's instructions for application. Multiple coats may be necessary for a durable finish.
Padding the Interior
Line the inside of the case with your chosen padding material. This will protect your firearm and accessories. Use glue or staples to secure the padding.
Step 5: The Finishing Touches
Almost there! Time to add those details that make your gun case truly yours:
- Branding: Add a custom label or monogram to personalize your case.
- Hardware: Consider adding decorative hardware like handles or corner protectors.
- Leather Straps: For carrying, add sturdy leather straps to the case.
- Finishing Touches: Apply a protective wax or polish to enhance the finish and protect the wood.
And there you have it! Your very own wooden gun case with extra storage, a beautiful piece of craftsmanship that'll protect your firearm and accessories for years to come. Enjoy the pride of creating something unique, and don't forget to show off your handiwork to your fellow gun enthusiasts. Happy crafting!

0 comments:
Post a Comment