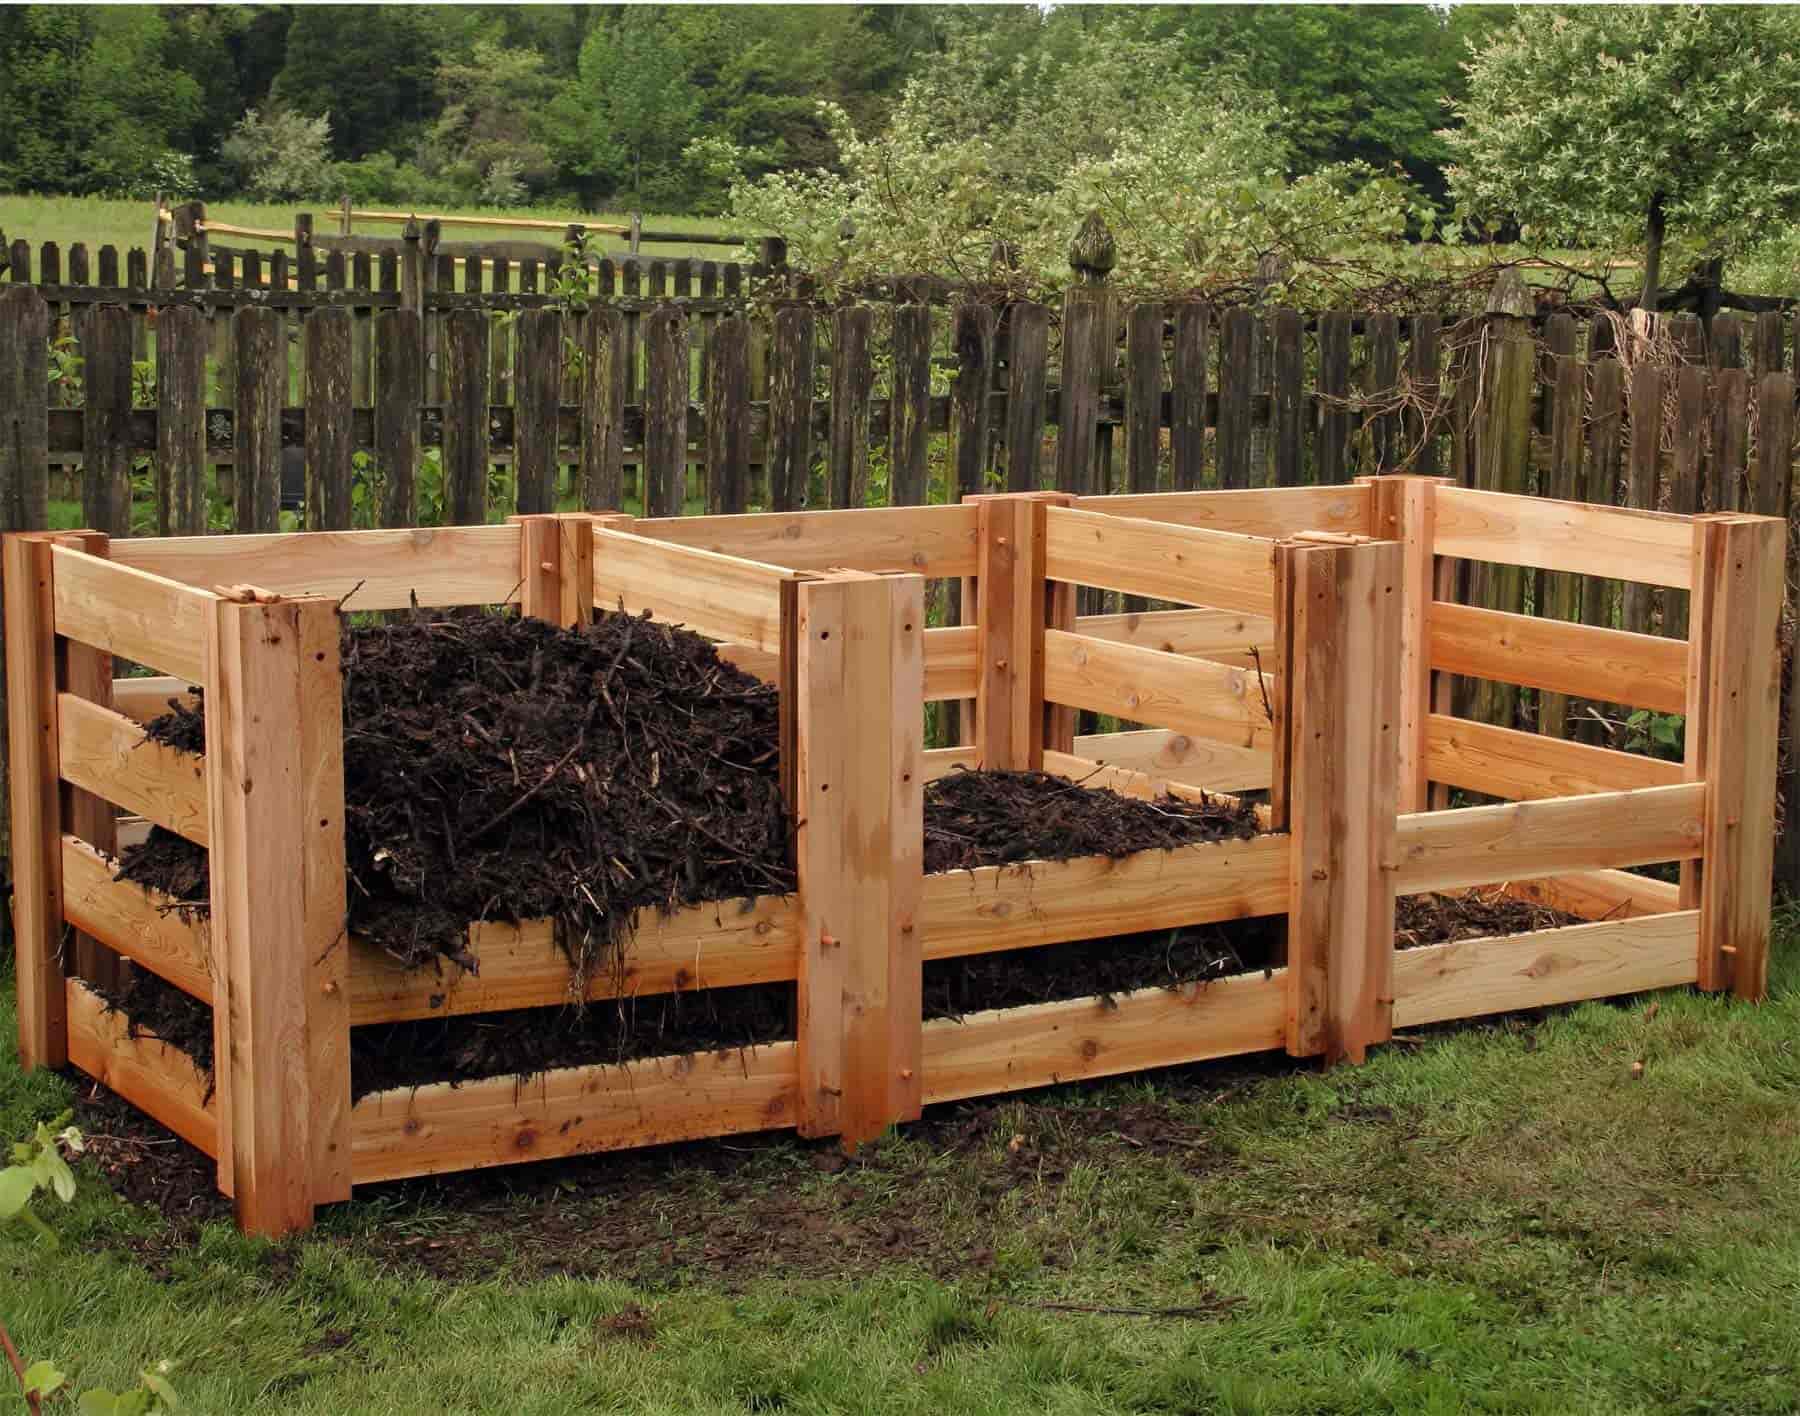
Quick and Simple DIY Compost Bin for Your Garden
Composting is a fantastic way to reduce waste, enrich your soil, and create a thriving garden. Building a DIY compost bin is easier than you think and can be done with readily available materials. This guide will walk you through the process of constructing a simple yet effective compost bin that will transform your kitchen scraps and yard waste into nutrient-rich compost.
Choosing Your Materials
The beauty of a DIY compost bin is that you can use materials you already have or can easily source. Here are a few common options:
Wood Pallets
Wood pallets are readily available and make an excellent framework for a compost bin. You can either use the pallet as is, or dismantle it and use the planks to create a more refined structure. Remember to ensure the pallet is free from any chemical treatments or paint.
Wooden Planks
If you have leftover wooden planks from other projects, these are perfect for building a simple rectangular bin. You can use screws or nails to assemble the planks and create a sturdy structure.
Chicken Wire or Hardware Cloth
For a more airy and open compost bin, you can use chicken wire or hardware cloth to create the walls. These materials allow for good airflow, which is essential for the composting process. You can attach them to a wooden frame or use stakes to create a freestanding bin.
Building Your Compost Bin
Once you've chosen your materials, you can start constructing your bin:
Step 1: Gather Your Materials
Start by gathering all the materials you need, including wood planks, screws, chicken wire, or hardware cloth, and any tools like a screwdriver, hammer, or tape measure.
Step 2: Measure and Cut
Measure the desired size of your compost bin and cut your materials to size. If you are using wooden planks, make sure to cut them to create four equal sides.
Step 3: Assemble the Frame
Connect the wooden planks or pallet sections to create the frame of your bin. Securely fasten the pieces together using screws or nails, ensuring the corners are square.
Step 4: Attach the Sides
If you are using chicken wire or hardware cloth, attach it to the frame using staples, wire, or zip ties. Make sure there are no gaps to prevent smaller compost materials from escaping.
Step 5: Add a Base
For a more stable compost bin, add a base to the structure. You can use leftover plywood, a piece of metal sheeting, or even a sturdy piece of plastic.
Step 6: Add Ventilation
Compost needs air to breathe, so add ventilation holes to your bin. Drill holes in the sides or use a mesh material to create openings for airflow.
Composting 101
Now that your compost bin is ready, you can start composting! Follow these tips for success:
What to Compost
Compost your kitchen scraps, such as vegetable and fruit peels, coffee grounds, eggshells, and tea bags. Add yard waste like leaves, grass clippings, and small branches.
Layering is Key
Layer green materials like food scraps and grass clippings with brown materials like leaves and shredded paper. This creates a good balance for successful composting.
Keep it Moist
Your compost bin should be damp but not soggy. Water it regularly, especially during dry periods.
Turn the Compost
Turning your compost regularly will help it decompose faster and evenly. Use a shovel or garden fork to mix the materials.
Time to Harvest!
You can harvest your compost after a few months when it has broken down into a rich, dark, crumbly material. It's ready to use in your garden to nourish your plants.
Composting is a rewarding process, and with your newly constructed DIY compost bin, you'll be well on your way to creating healthy soil and a sustainable garden. Enjoy the journey of transforming waste into valuable compost!

0 comments:
Post a Comment