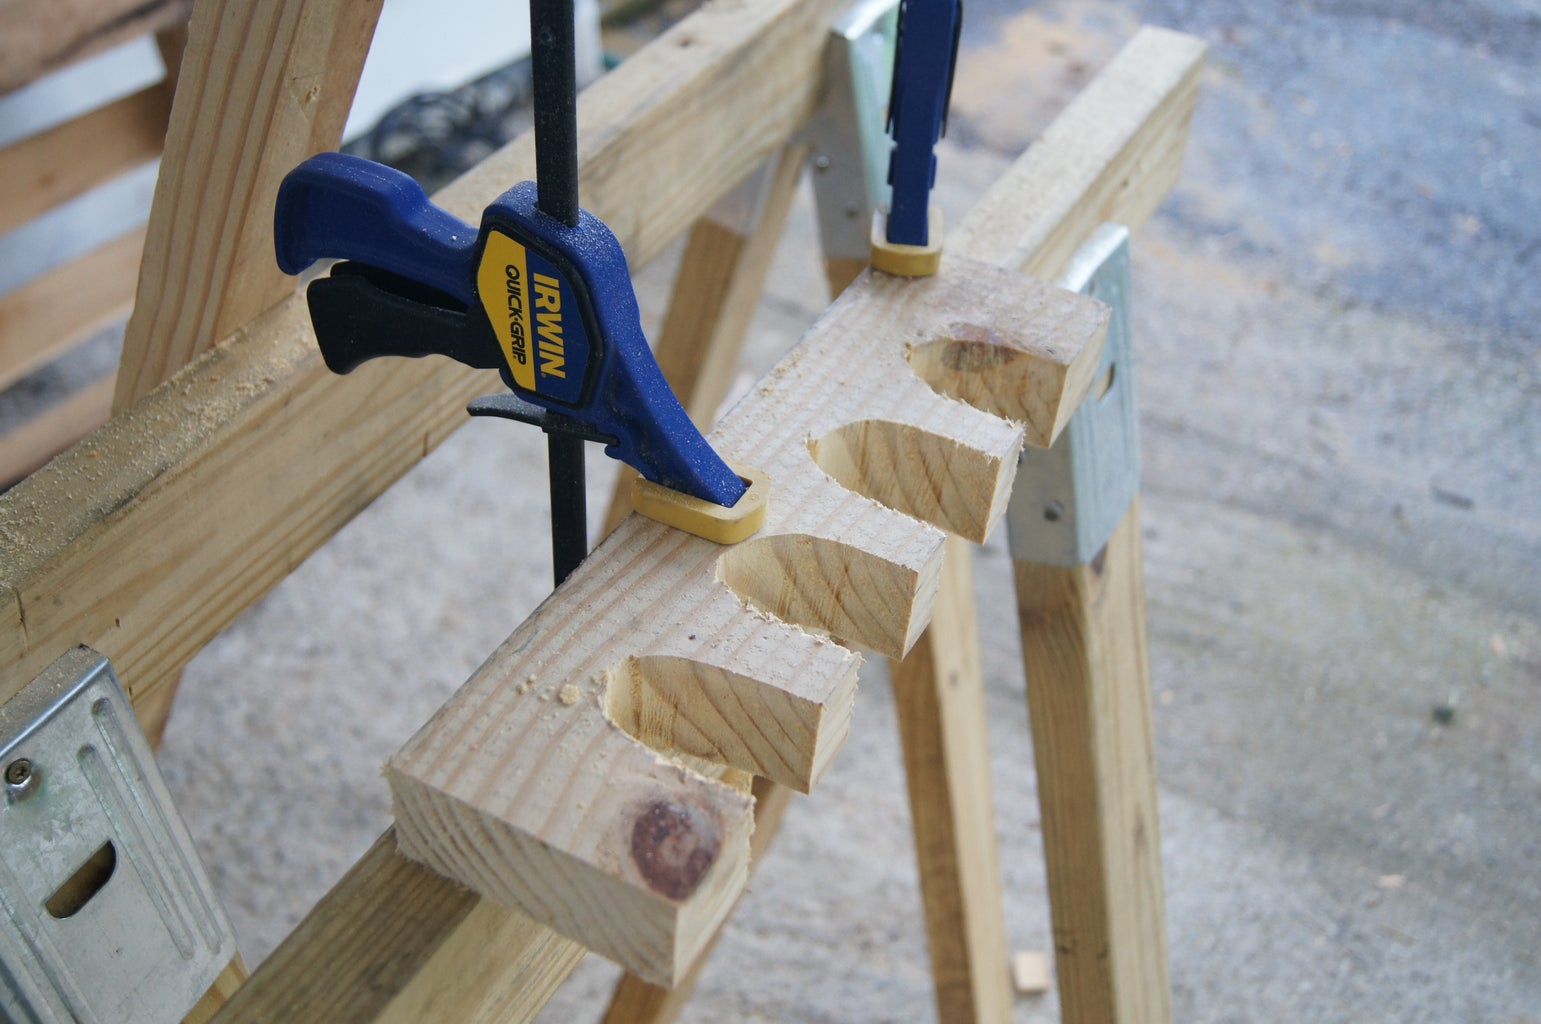
Hey there, gun enthusiasts and DIYers! Ever dreamed of having a custom gun cabinet that's not only secure but also shows off your collection like a work of art? Well, you're in the right place! Building a wooden gun cabinet is a fantastic project that combines woodworking skills with a touch of artistry, all while giving you a sense of pride in creating something truly unique.
Step 1: Planning and Design - Laying the Foundation
Before you even touch a saw, it's crucial to have a solid plan in place. Think about these key factors:
Size and Shape: How many guns will you store? What kind of layout works best? Do you want a traditional rectangular cabinet or something more unique, like a curved front or a built-in corner unit?
Wood Choice: This is where you get to flex your creative muscle! Do you want a classic look with solid cherry or walnut? A rustic charm with reclaimed barn wood? Or something modern with maple or birch? The possibilities are endless! Consider the wood's durability, color, and how it will age over time.
Security Features: This is paramount for any gun cabinet. Consider using heavy-duty hinges, a strong lock with a keyed or electronic system, and even a discreet alarm system.
Interior Layout: Plan how you want to organize your collection. Will you use shelves, drawers, or a combination of both? What about adding dividers, soft lining, or specialized features for different types of firearms?
Budget: Set a realistic budget before you start. Wood prices, hardware, and finishing materials can vary greatly.
Step 2: Gathering Materials and Tools - The Arsenal of Creation
Once you have your design locked in, it's time to stock up! Here's a list of essentials:
Wood: This is your foundation. Choose your wood wisely, considering the type, thickness, and overall amount needed.
Hardware: You'll need hinges, a lockset, door handles, shelf brackets, screws, nails, and any other specialized hardware your design requires.
Finishing Materials: This is where you bring out the personality of your cabinet. Choose stains, paints, varnishes, or oils depending on the desired look and finish.
Tools: Make sure you have the right tools for the job, which might include a saw (table saw, circular saw, or hand saw), a drill, sander, router, clamps, measuring tape, level, chisel, and glue.
Step 3: Building the Frame - The Backbone of Strength
Now it's time to start building! This part involves crafting the cabinet's frame, which forms the solid base of your masterpiece:
Cut the Wood: Measure and cut your wood to the precise dimensions you planned. Double-check measurements before cutting, especially for critical pieces.
Assemble the Frame: Use screws, nails, or glue to join the sides, top, and bottom of your cabinet frame. Make sure all corners are square and the frame is sturdy.
Add Interior Supports: Install shelves, dividers, or any other interior features you have planned.
Step 4: Door Construction - The Gateway to Security
Here comes the part where you add that elegant touch to your cabinet:
Cut and Shape the Door: Make sure you cut the door to the correct dimensions and shape.
Install Hinges: Choose heavy-duty hinges for optimal security. Install them securely to the door and the cabinet frame.
Add a Lock: This is your final line of defense. Install a lock that provides a good level of security and fits your design aesthetic.
Step 5: Finishing Touches - The Art of Refinement
This is where you take your cabinet from functional to stunning:
Sanding: Smooth out any rough edges and imperfections. Start with rougher grit sandpaper and gradually move to finer grits for a smooth finish.
Finishing: This is your chance to showcase your vision! Apply stain, paint, varnish, or oil to achieve the desired look. Be sure to follow the manufacturer's instructions for the finishing product you choose.
Hardware Installation: Install your handles, knobs, or other hardware to add a touch of elegance.
Step 6: Installation and Enjoyment - The Moment of Truth
The final stage is all about setting up your masterpiece:
Choose a Location: Select a suitable location that is secure and easily accessible.
Mount the Cabinet: Securely attach your cabinet to the wall to prevent accidental tipping.
Populate Your Collection: Carefully place your firearms inside, organizing them based on your plan.
Enjoy Your Creation: Step back and admire the stunning cabinet you've built with your own hands!
Tips for Success:
Measure Twice, Cut Once: Accuracy is key in woodworking. Don't rush through measurements.
Quality Materials: Invest in good wood and hardware for a durable and lasting piece.
Clean Work Area: Keep your workspace clean and organized for safety and efficient work.
Don't Be Afraid to Ask for Help: Don't hesitate to reach out to experienced woodworkers or consult online resources if you need guidance.
Practice Safety: Always wear appropriate safety gear, including eye protection and hearing protection, when working with power tools.
Final Thoughts:
Building your own wooden gun cabinet is an exciting and rewarding project. It allows you to combine your passion for firearms with your creative spirit while crafting a custom storage solution that reflects your personal style.
Remember, take your time, be patient, and enjoy the process. With careful planning, quality materials, and a touch of dedication, you'll be able to create a stunning gun cabinet that you'll proudly display for years to come. So grab your tools, unleash your inner craftsman, and let the journey begin!

0 comments:
Post a Comment