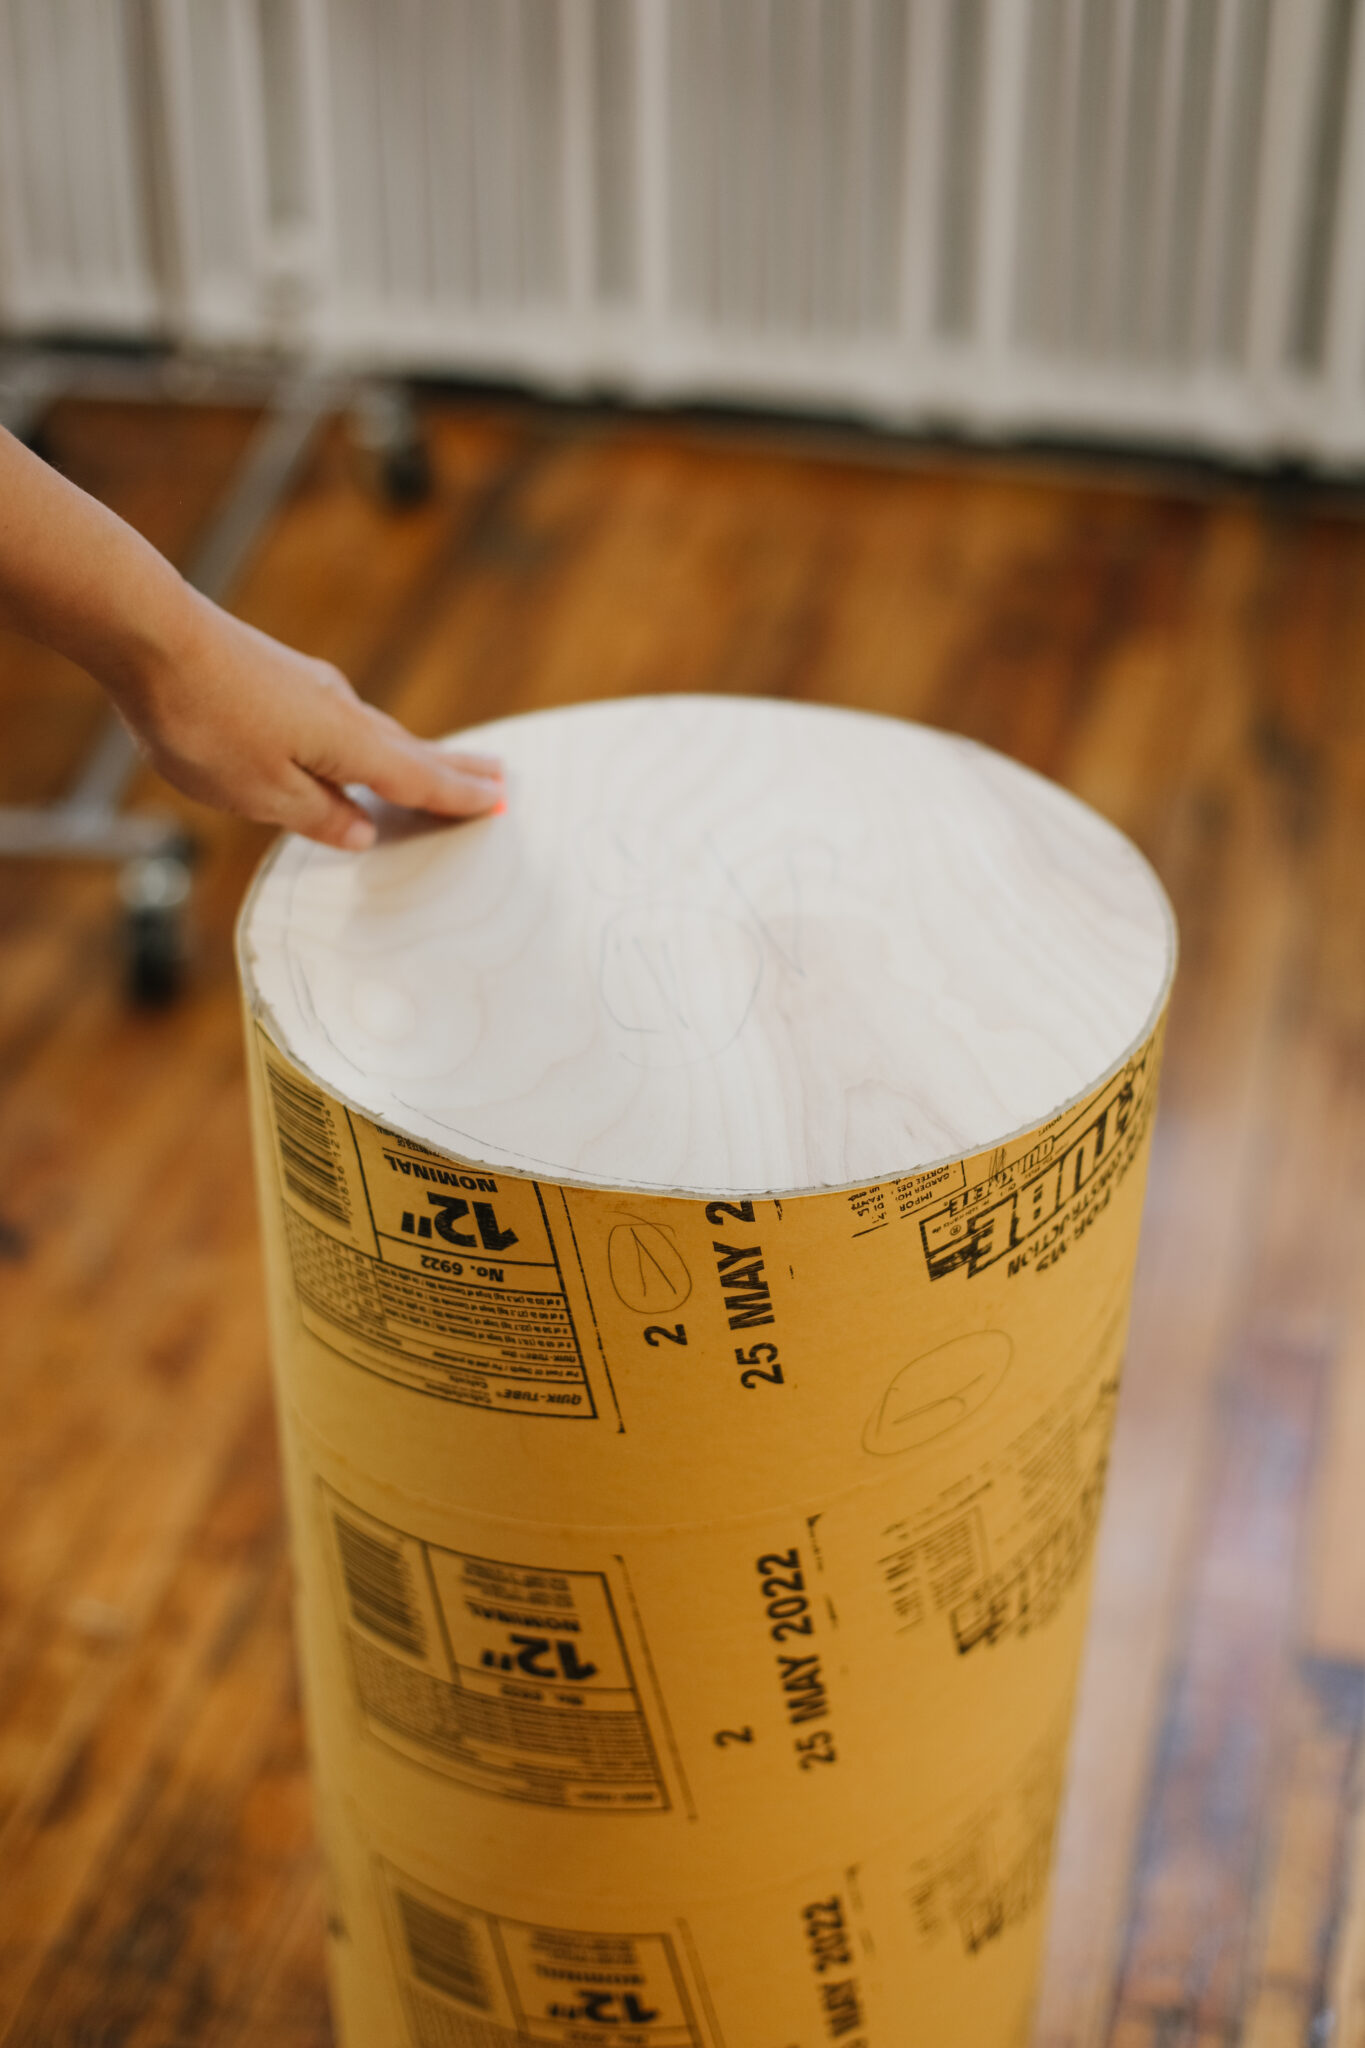
Building a Custom Desk: A Step-by-Step Guide
Crafting a custom desk is a rewarding project that allows you to create a workspace perfectly tailored to your needs and style. This guide will walk you through the process from design to finish, enabling you to build a desk that's as unique as you are.
Planning Your Desk
Before you pick up a saw, it's crucial to plan your desk thoroughly. This step involves determining your needs, visualizing the design, and selecting the right materials.
Define Your Needs
Consider how you'll use your desk. Do you need ample storage for files and supplies? Do you require a large work surface for spreading out projects? What kind of lighting and seating do you prefer? Answering these questions will inform the size, shape, and features of your desk.
Sketch Your Design
Once you have a clear idea of your needs, translate them into a sketch. Draw the desk's overall shape, including its dimensions, and mark the locations of drawers, shelves, and any other features. Don't be afraid to experiment with different layouts until you find one that suits you.
Choose Your Materials
The choice of materials depends on your budget, desired aesthetic, and intended use. Common options for desk construction include:
- Hardwoods: Offer durability, beauty, and a classic look. Popular choices include maple, oak, walnut, and cherry.
- Softwoods: More affordable than hardwoods, but less durable. Pine and fir are common options for desk projects.
- Plywood: Provides strength and stability at a lower cost. Look for plywood with a veneer that matches your desired aesthetic.
- MDF (Medium-Density Fiberboard): Offers a smooth surface and is easy to work with, but lacks the durability of hardwoods.
Cutting and Assembling the Desk
With your design and materials ready, you're ready to start building! This step involves cutting the wood to size and joining the pieces together to form the desk's structure.
Cutting the Wood
Use a saw, such as a circular saw or table saw, to cut the wood according to your plans. Make sure your cuts are precise and square to ensure the desk is stable and well-proportioned.
Jointing and Gluing
To create strong joints, use wood glue and a variety of joining techniques, such as dowels, mortise and tenon joints, or pocket holes. Clamp the pieces together firmly and allow the glue to dry completely before proceeding.
Assembling the Desk
Once the individual pieces are glued and dry, assemble the desk's framework according to your plans. Use screws or nails to secure the joints for added strength and stability.
Finishing Touches
With the desk assembled, it's time to add the finishing touches that bring your design to life. This step involves sanding, staining or painting, and adding hardware.
Sanding and Refinishing
Sand the desk's surface with progressively finer grit sandpaper to achieve a smooth and even finish. This process removes any imperfections and prepares the surface for staining or painting.
Staining or Painting
Apply a stain or paint to enhance the wood's natural beauty or create a desired color. Choose a finish that complements your design and protects the wood from scratches and spills.
Adding Hardware
Install drawer slides, handles, hinges, and any other hardware required for the desk's functionality and aesthetics. Use the appropriate tools and techniques to ensure a clean and professional installation.
Enjoying Your Custom Desk
After adding the final touches, you'll have a custom desk that perfectly meets your needs and reflects your unique style. Enjoy the satisfaction of creating something beautiful and functional with your own hands.

0 comments:
Post a Comment