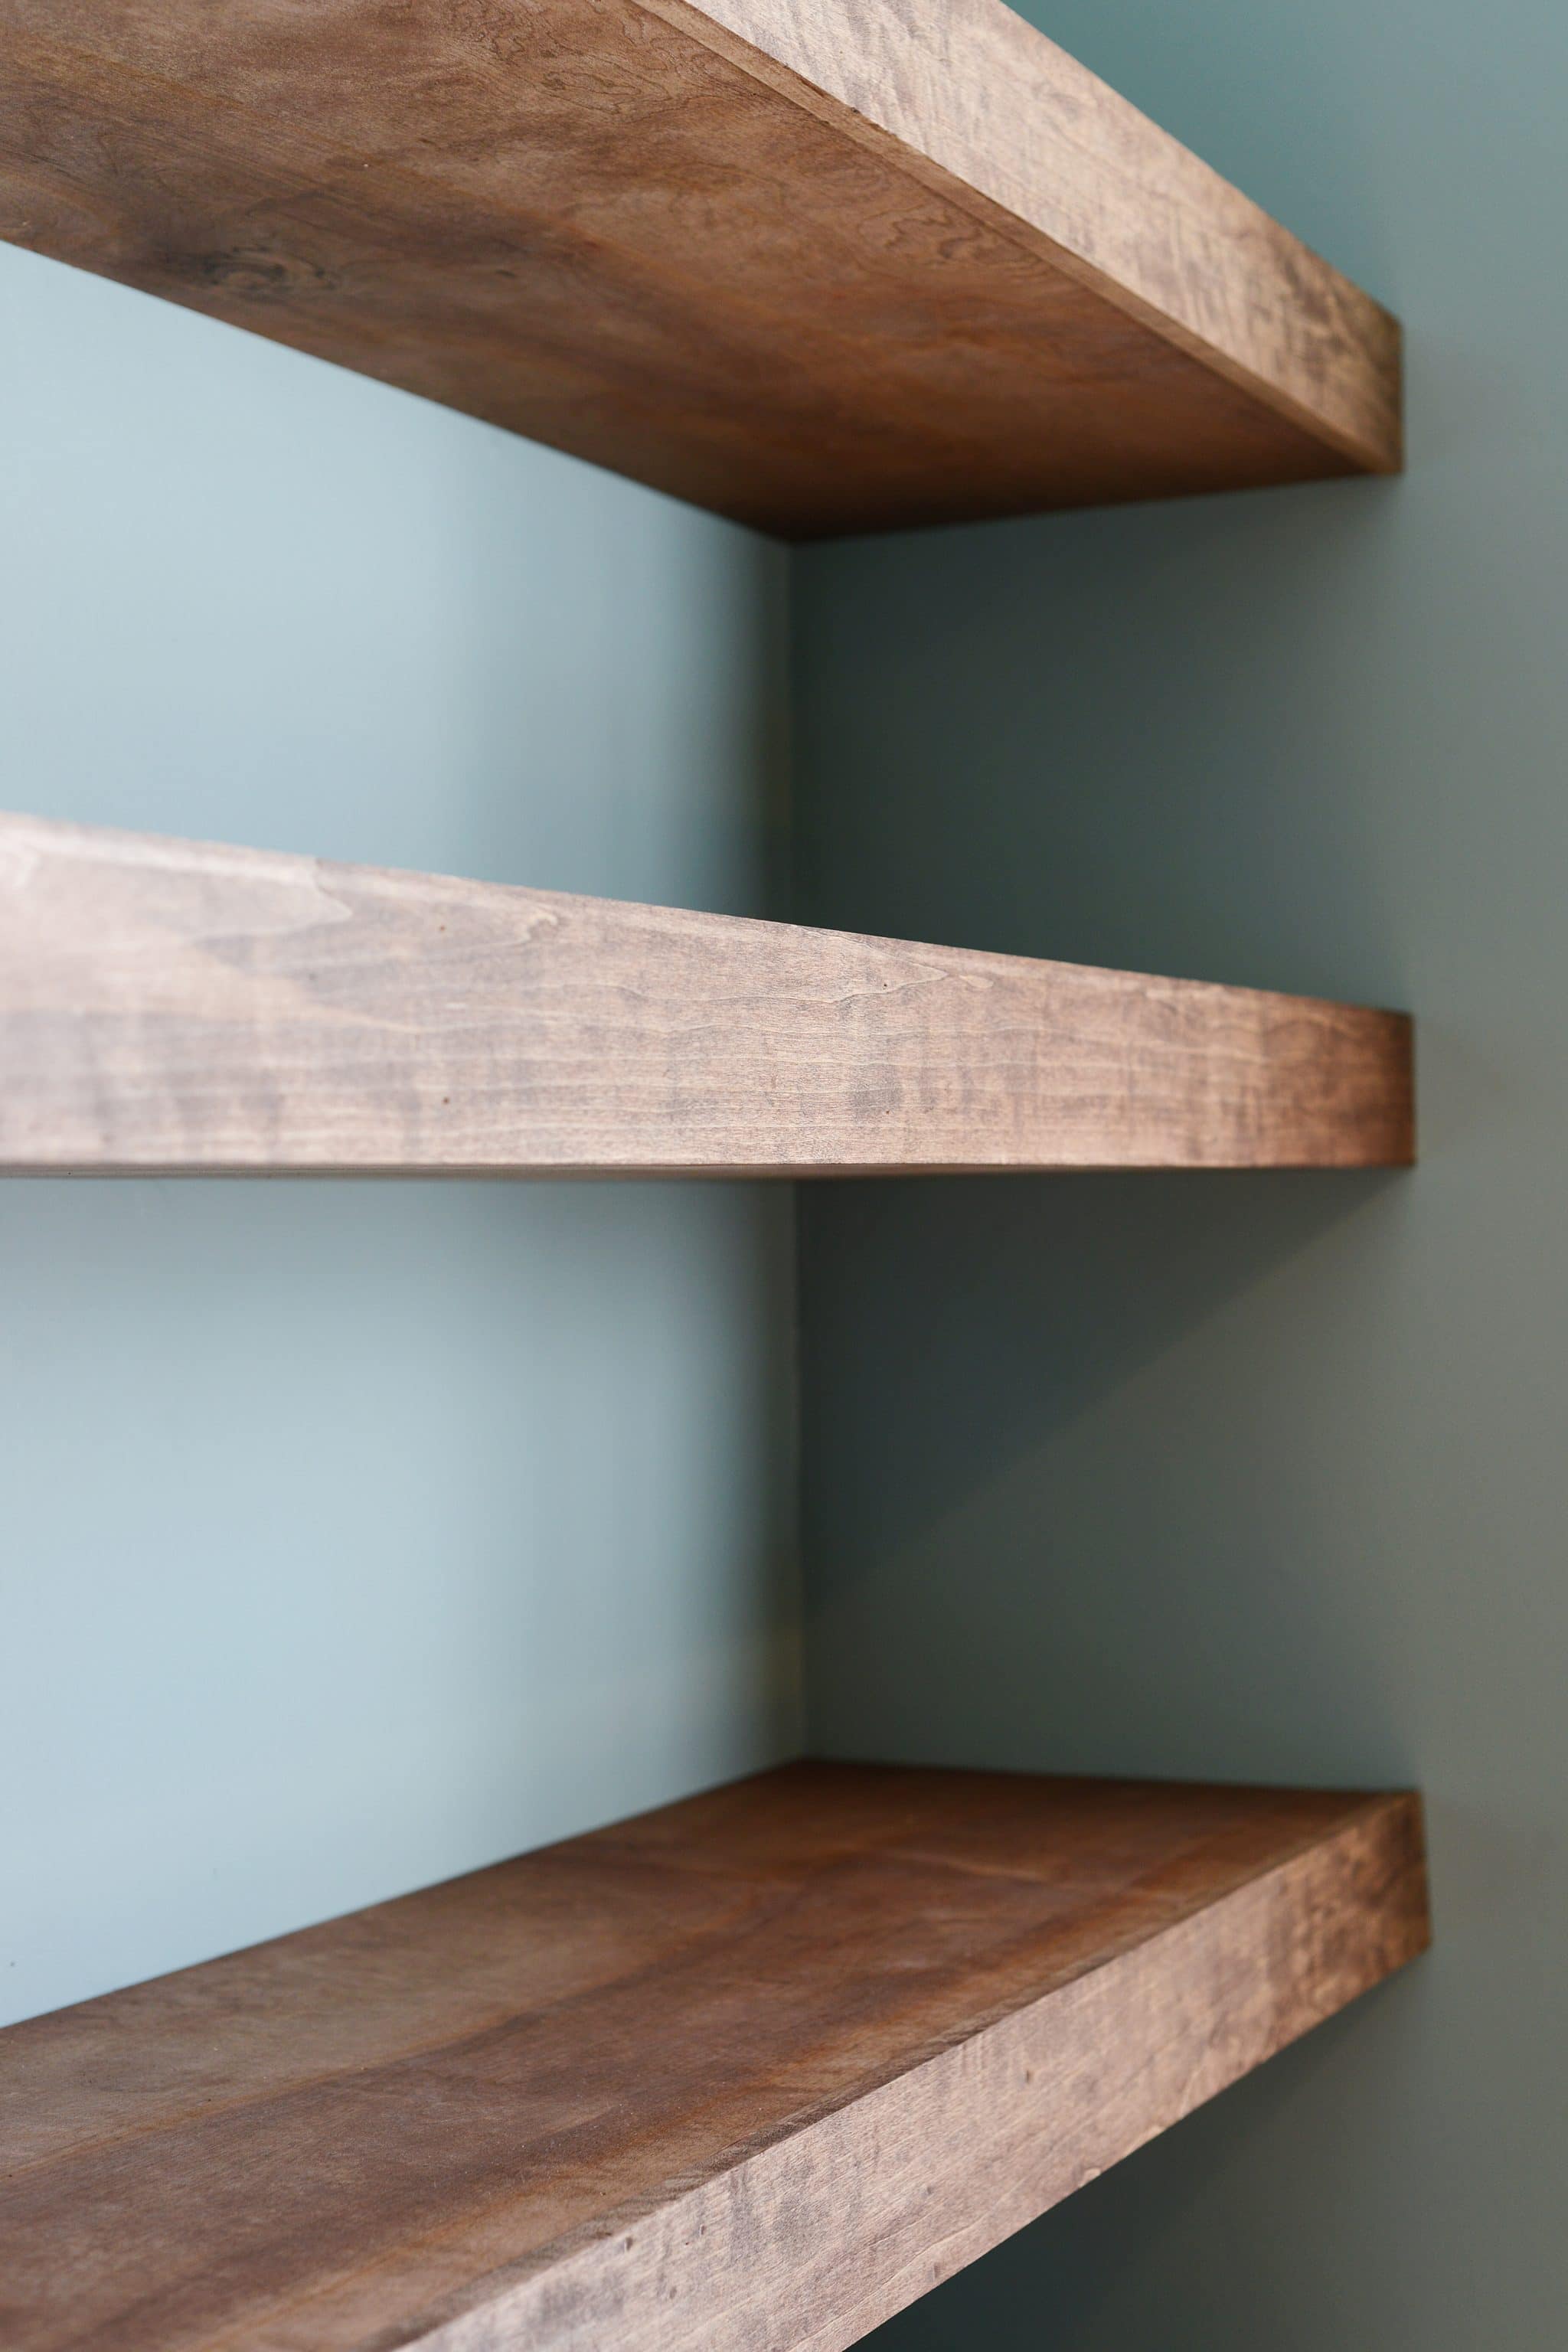
Wooden Floating Shelves for Your Bathroom: DIY Project Ideas
Tired of cluttered bathroom countertops and limited storage space? Floating shelves offer a stylish and practical solution, adding both functionality and visual appeal to your bathroom. And the best part? You can easily build your own with a few simple materials and tools. This DIY project is surprisingly achievable, even for beginners. Let's dive in and explore some inspiring ideas.
Choosing the Right Wood
The first step in your floating shelf journey is selecting the perfect wood. Consider these factors:
- Water resistance: Bathrooms are humid environments, so choose a wood that can withstand moisture. Teak, cedar, and redwood are excellent choices for their natural water-repellent properties. You can also opt for treated wood, which is designed to resist rot and decay.
- Appearance: Wood comes in various colors, grain patterns, and finishes. Choose a style that complements your bathroom decor. A rustic look might suit a farmhouse bathroom, while a sleek, modern finish would complement a contemporary space.
- Budget: Wood prices vary depending on species, thickness, and availability. Set a realistic budget and explore options that fit your needs and wallet.
Essential Tools and Materials
To build your floating shelves, gather these tools and materials:
- Wood: Select your preferred wood species and cut it to your desired dimensions for the shelf and supports.
- Wood screws: Use screws that are long enough to securely fasten the shelf to the wall.
- Drill: A cordless drill with a Phillips head bit is essential for driving screws and creating pilot holes.
- Level: Ensure your shelves are installed straight and level with a reliable level tool.
- Measuring tape: Accurately measure your shelf locations and ensure proper spacing.
- Pencil: Mark the wall for screw placement and to outline shelf dimensions.
- Sandpaper: Smooth any rough edges on the wood and create a polished finish.
- Wood stain or paint: Optional - enhance the wood's natural beauty with a stain or add a touch of color with paint.
- Safety glasses and gloves: Protect your eyes and hands while working with wood and tools.
Simple Floating Shelf Design Ideas
The possibilities are endless when it comes to designing your floating shelves. Here are a few simple ideas to get you started:
Single-Shelf Design
This classic design is perfect for adding storage and visual interest to a small area. You can create a single shelf by cutting a piece of wood to your desired length and width. Attach two supports to the back of the shelf, which will be screwed into the wall. Keep the supports flush with the back of the shelf for a clean, seamless look.
Tiered Shelves
For a more expansive storage solution, build a tiered shelf unit. This involves creating multiple shelves stacked one above the other. Use supports to connect the shelves, creating a stable and visually appealing design. Consider staggering the shelves for added dimension and visual interest.
Corner Shelves
Make the most of unused corner space with custom-designed corner shelves. Cut two pieces of wood to form a right angle and attach them to create a triangular shelf. Attach the shelf to the wall at the corner, ensuring it's securely fastened.
Tips for Successful Shelf Installation
To ensure your shelves are installed flawlessly, follow these tips:
- Pre-drill pilot holes: This prevents the wood from splitting when driving screws.
- Use a level: Double-check that the shelf is level before attaching it to the wall.
- Consider weight capacity: Choose screws and supports that can handle the weight of the items you plan to store on the shelf.
- Anchor to studs: For extra stability, attach the shelf supports directly to wall studs.
- Finish your shelves: Sand and apply a stain or paint to protect the wood and enhance its appearance.
Building your own wooden floating shelves is a rewarding DIY project that adds both functionality and style to your bathroom. With a little creativity and these tips, you can create a stunning storage solution that elevates your bathroom decor and brings a touch of personal style to your space. So, grab your tools, choose your wood, and get ready to embark on your bathroom transformation!

0 comments:
Post a Comment